- Run the eStockCard program at the eStockCard inventory software Client PC.
- A message might appear to show that it is unable to connect to the database.

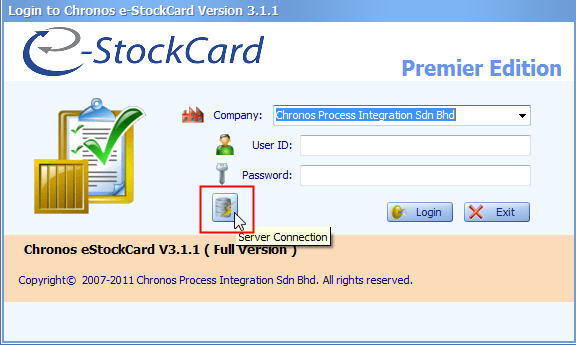
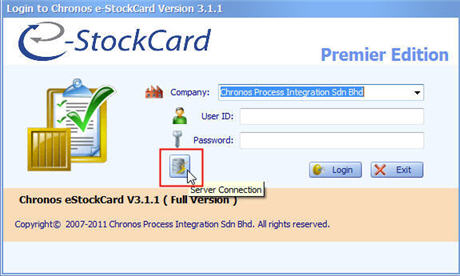
- Once the eStockCard login screen appears, just click on the “Server Connection” button.
- If the eStockCard Server PC IP address is known, just enter the IP at the Server name column and then click Connect.
Please maintain the default Authentication, User name and password.eg: If the IP is 192.1.1.1, at the Server name column just replace CHRONOS024 with 192.1.1.1. Therefore the server name column will be: 192.1.1.1\ESTOCKCARD3.

- Otherwise, you could also manually browse for the eStockCard warehouse system Server PC by clicking the Server Name drop down list and select <Browser for more>.

- Click on the Network Server Tab
- Select the eStockCard Server PC name from the list and then click OK and Connect.

- Now the eStockCard Client is connected to the eStockCard Server database.
Related posts:
- SQL Server 2005 Installation Problem on the eStockCard Inventory Software – Troubleshooting Steps
- How many items can be supported by Chronos eStockCard Inventory Software?
- Import Data into the Chronos eStockCard Inventory Software
- User ID and password for sample database in eStockCard Inventory Software
- I am unable to install the eStockCard Warehouse System due to MS. SQL Server Native Client not being found during installation. What should I do?