Purchase Payment
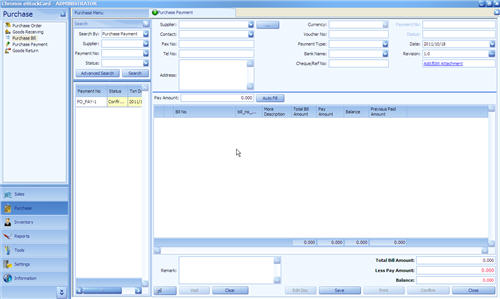
Once the Purchase Orders have been consolidated at Purchase Bill module, then it is the time to proceed with the supplier’s payment. This will be handled under the Purchase Payment module. To open the screen, just click on “Purchase Payment” (Fig. 1)

( Fig 1 )
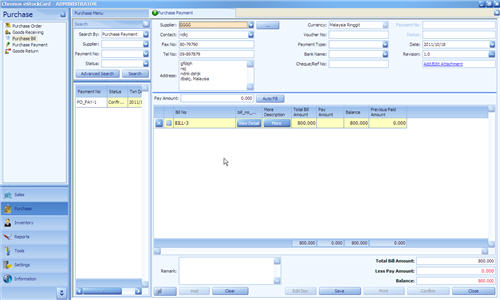
Step 1 Select “Supplier” from pull down and the system will automatically retrieve the common data (Contact, Fax No, Tel No, Address and Currency) – Fig. 2

( Fig 2 )
Step 2 System will automatically list down all the Bills under the respective supplier. The user can opt to pay a single bill or consolidate several bills in a single Purchase Payment by tick the small square box.
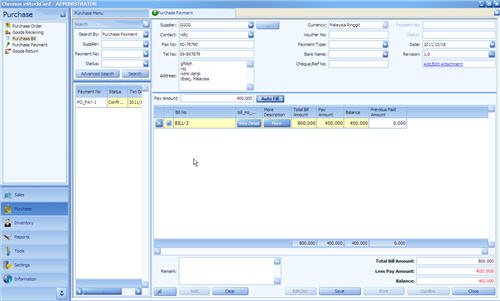
Step 3 You are allowed to make partial or full payment. For example, the total outstanding amount (Balance) for Bill-1 is 800. (Total Bill Amount – Previous Paid Amount). If you opt to make a full payment, just enter 800 at “Pay Amount” (for every individual line) and hence the balance becomes “0” at the particular line. (Fig 3 )

( Fig 3 )
Remark
If you have more bills to be paid in a single Purchase Payment, you can enter the value to the “ Pay Amount” and follow by clicking “Auto Fill”, system will automatically deduct the local Pay Amount (Pay Amount of every line) from Pay Amount. From first row and subsequently proceed to second until the final row Amount = 0. Otherwise, you can enter local Payment Amount line by line.
Step 4 Additonal payment info can also be enter into the optional fields such as Voucher No, Payment Type, Bank Name, Cheque/Ref No. (Fig. 4)

( Fig 4 )
Step 5 Click “Save” button, system will assign a unique Payment number and the status will changed to “Active”. Amendment and modification can be done as long as the status of the Payment is still “Active”.
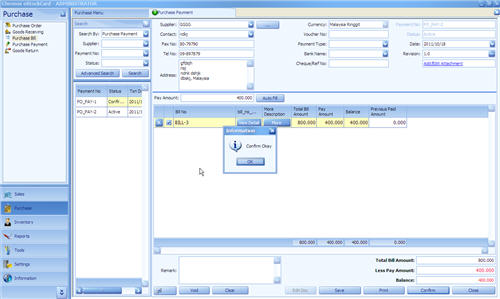
Step 6 Once there is no any further modification,please proceed to click “Confirm” to confirm the this transaction and the Payment status will change to “Confirmed”. Please note that no reversible can be done if the status has changed to “Confirmed”. For the above example, we have made partially payment only. (Fig. 5)

( Fig 5 )
Step 7 Settlement of partial payment. There is outstanding amount for Bill-1 (Total Bill Amount = 800, Previous Pay Amount = 400, Balance 400). The user has to create again a new Purchase Payment to settle this outstanding payment (Fig. 6)

( Fig 6 )
Please repeat the previous steps (from Step3 ~ Step6) and you must be noted that system will generate new Payment number for this outstanding amount settlement for better monitoring purpose.