USER MANAGER
User names must be set first before all the other users can access the Chronos eStockCard Inventory software. Every user requires to be assigned to appropriate Group in order to have suitable access privileges.
The first would be to create a User, then create a Group and with their privileges and finally assign the Group to the User.
1) Add New User
Path: Settings > System > User Manager > User (Refer To Fig. 1)
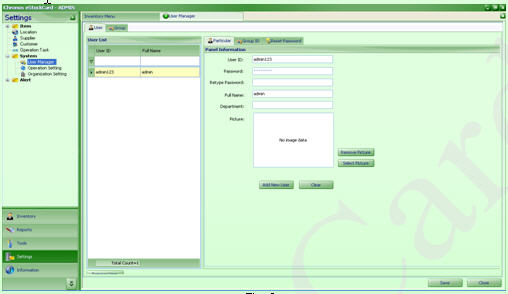
(Fig. 1 )
Step 1 Click “Clear” to clear existing record.
Step 2 Enter User ID (must be unique), Password, Full Name & Department (Fig. 2)
Step 3 You can paste your photo (optional).Just click on the Select Picture button and then browse for the desired picture from the respective folder.
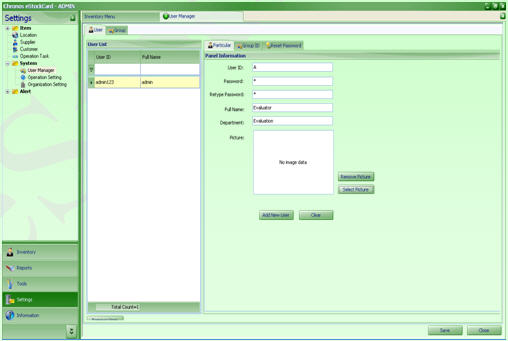
(Fig. 2)
Step 4 Click “Add New User” & “Save”. New user with User ID = “A” with Full Name = “Evaluator” was created and saved (Fig. 3)

(Fig . 3)
2) Add New Group and Privileges Setting
Path : Settings > System > User Manager > Group
You can create several users but assign to the same group who are having similar access privileges.
(Fig 4 )
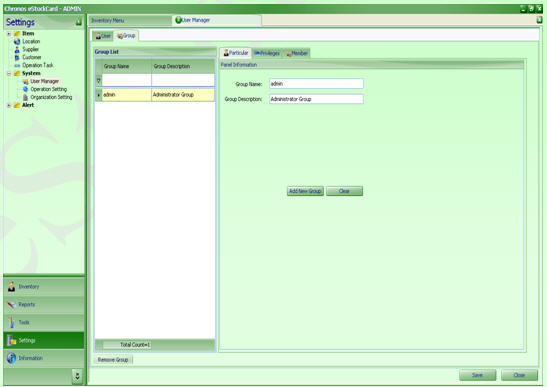
Step 1 Select “Group” and “Particular” from main screen. (Fig. 4 )
Step 2 Click “Clear” to clear existing record.
Step 3 Enter “Group Name” & “Group Description”
Step 4 Click “Add New Group” follow by “Save”, new group name will be added to the list. (Fig. 5 )
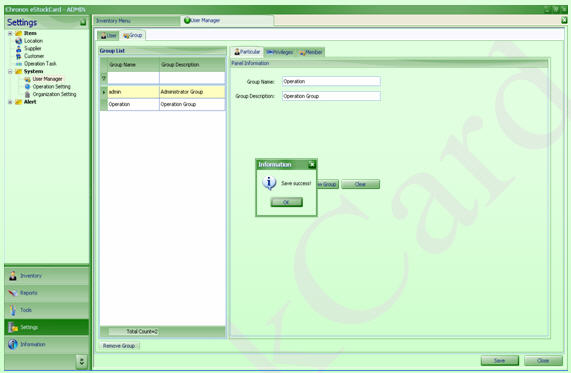
(Fig. 5 )
Step 5 Now, you have to assign which and what privileges to this newly created group Select “Group > Privileges” from drop down. Tick any operation privilege you want, multiple selections to any module can be made. To use IN & OUT only, just tick “Access IN” and “Access OUT” Screen and Save it.(Fig. 6)
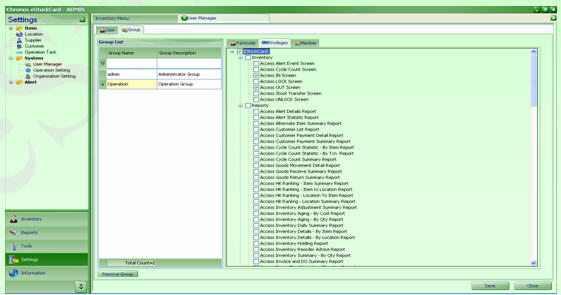
(Fig . 6)
3) Assign a User to a Group
Step 1 Select “User > Group ID” from drop down. You will see newly created user “A” is NOT assigned to any Group yet (Fig. 7)
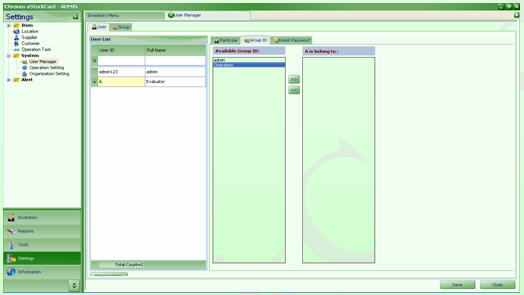
(Fig. 7)
Step 2 We decide to allow user “A” to do simple “IN” & “OUT” operations. Hence, it will be assigned to Operation group. Click “Save” once done. To exit just click the Close button.
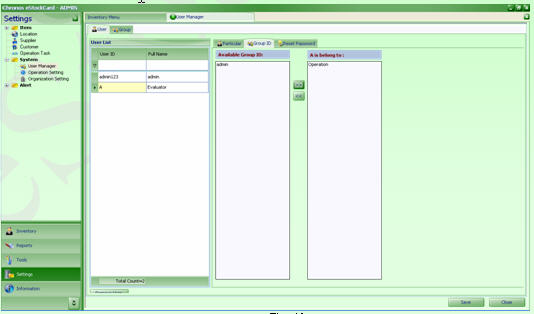
( Fig. 8 )
Now the User created.