Receive Payment
After the sales invoice has been generated, we shall proceed to expedite customer’s payment.
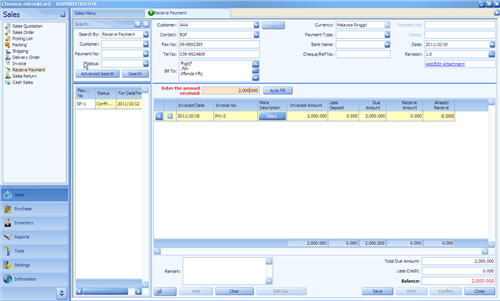
This will be handled by Receive Payment module. To invoke this, click “Receive Payment” at the Sales module ( Fig 1 )

( Fig 1 )
Follow the following steps:-
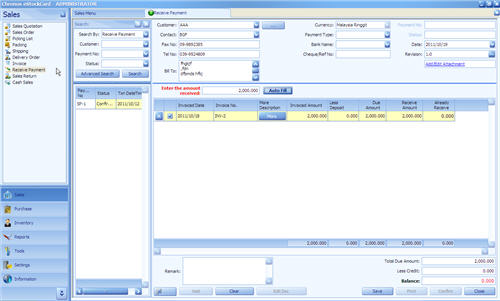
Step 1 Select “Customer” from pull down and the system will automatically retrieve some common data (Contact, Fax No, Tel No, Bill Address and Currency).( Fig 2 )

( Fig 2 )
Step 2 System will automatically list down all the outstanding invoices that belong to this customer, you can opt to pay a single invoice or consolidate several invoices in a single Receive Payment by ticking the small check box.
Step 3 You can enter partial or full payment that received from customer. For example, the total due amount (outstanding amount) for the customer is 2000.00 (Invoiced Amount – Already Receive).
If you have received full payment from the customer, just enter 2000.00 at “Receive Amount” (for every individual line) and hence the balance becomes “0”. ( Fig 3 )

( Fig 3 )
Remark
If you have more bills to be paid in a single Receive Payment, you can enter the value to the “Enter the amount received” and follow by clicking “Auto Fill”, system will automatically fill up each line (from first line and subsequently proceed to the next). Otherwise, you can enter local Receive Amount line by line.
Step 4 You can select to enter more reference data to optional fields such as (Payment Type, Bank Name, Cheque/Ref No). ( Fig 4 )

( Fig 4 )
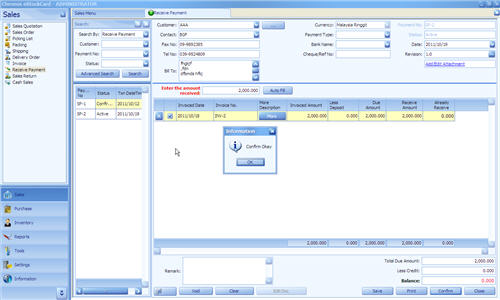
Step 5 Click “Save” button, system will assign a unique Payment number and the status will changed to “Active”. You still can amend it as long as the status of the Bill is “Active”.
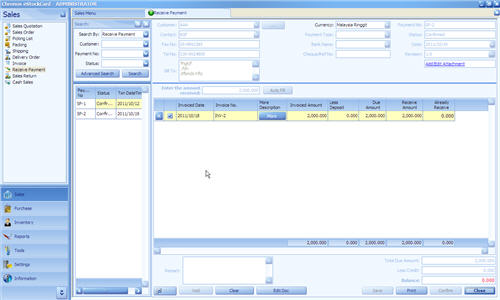
Step 6 If everything goes fine and please proceed to click “Confirm”, the status of the Payment will change to “Confirmed”. No reversible can be done in later stage if the status is set to “Confirmed”. For the above example, we have made partially payment only. ( Fig 5 )

( Fig 5 )
Step 7 Settlement of balance payment. There is outstanding Due Amount to be received for the previous Receive Payment. User has to initiate new Receive Payment to settle this by invoking Receive Payment module again( Fig 6 )

( Fig 6 )
Please repeat the previous steps (from Step1 ~ Step6) and you must be noted that system will generate new Payment number for this outstanding amount settlement for better monitoring purpose.